How to Create, Edit and Delete an Area
Overview:
Area is a system function that allows the user to group its suppliers and customers by area. This function can be used to generate various reports by filtering them by area.
Procedure:
How to Create Area
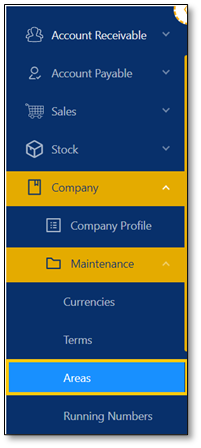
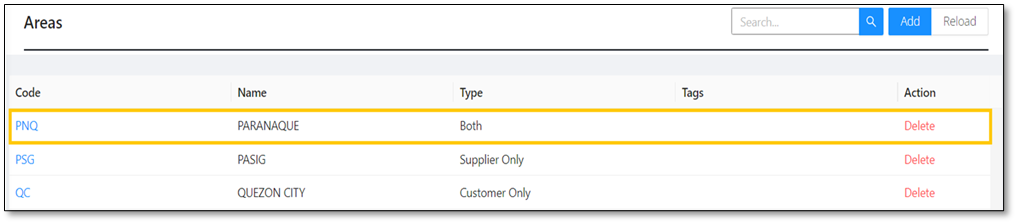
1. In Navigation pane, go to Company > Maintenance > Areas
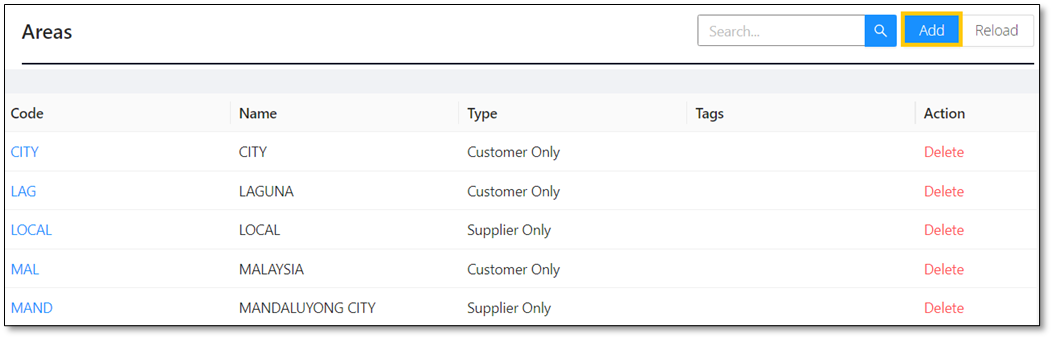
2. In the Area List View, click Add
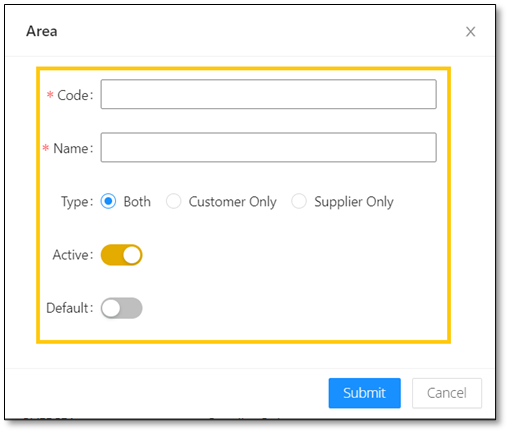
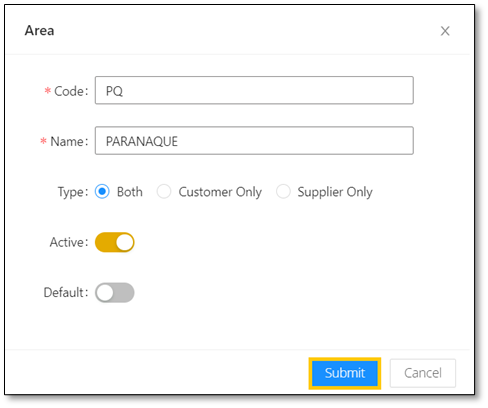
3. Supply the fields with data;
Code: This is a compulsory field with a maximum length of 20 alphanumeric characters.
Name: This is a compulsory field in which you need to indicate the name of the area.
Type: This is to determine where the area can be used.
Both
Customer Only
Supplier Only
Active: This is a function to set if an area is still used. If an area will not be used anymore, disable the toggle to make it inactive.
Default: This is a function that allows you to set the area as default in supplier and customer maintenance based on the type.
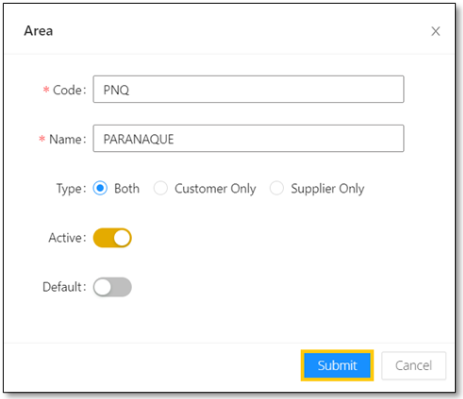
4. Once done, click Submit
How to Edit Area
1. In Area List View, click Code to open.
2. Then supply the fields that need to be edited. Once done, click Submit
How to Delete Area
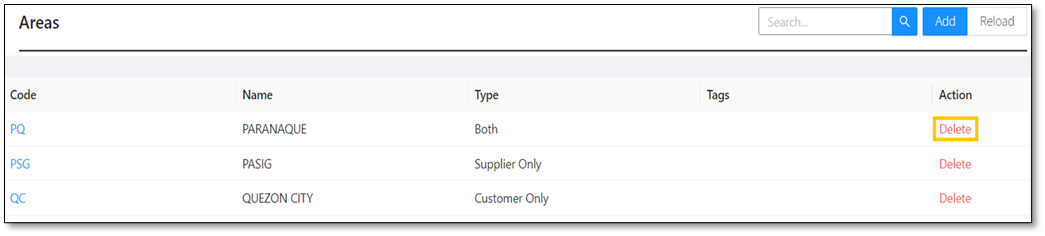
1. In Area List View, click Delete on the Area
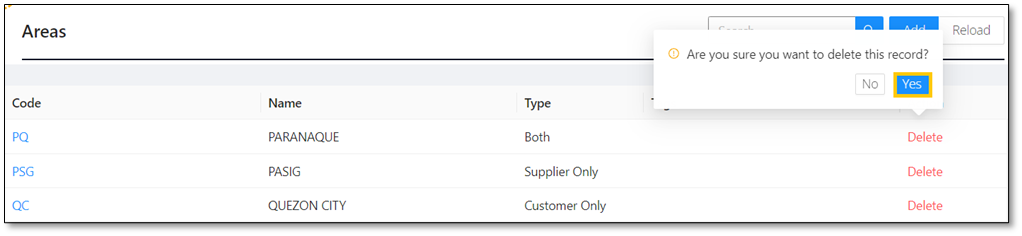
2. When the confirmation message prompted, click Yes
Note: An area can only be deleted if the area has not been tagged in a customer and supplier with transactions.
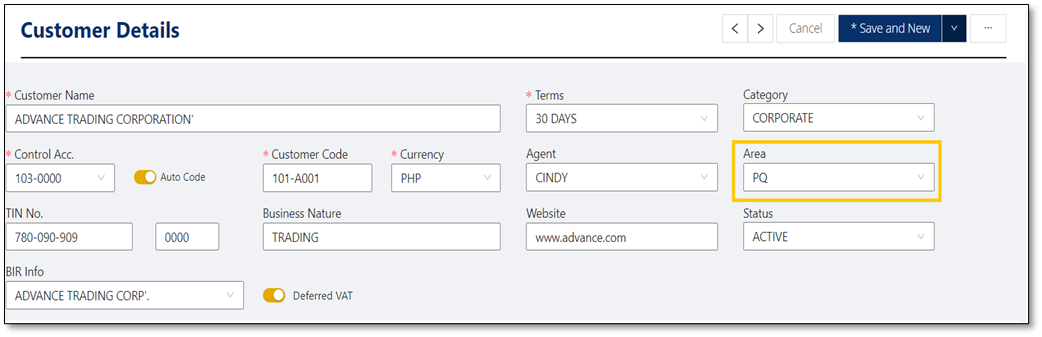
Application:
Area can now be used in customer and supplier maintenance.
System Scope: QNE AI Cloud Accounting / N3 AI Accounting
Was this article helpful?
That’s Great!
Thank you for your feedback
Sorry! We couldn't be helpful
Thank you for your feedback
Feedback sent
We appreciate your effort and will try to fix the article